I guess the blessing and curse of being an interior designer, is that you want to keep up with the trends, and you...WANT TO KEEP UP WITH THE TRENDS. This translates into a thorough 'out with the old, in with the new' compulsion about every 5 years or so. We are not fabulously wealthy, so I have to tame the beast when it comes to satisfying the urge to bring a fresh look into my home so frequently. But I do find that my interiors start to look dated, especially when it is my occupation to build homes that are stylish and appealing to a wide range of buyers. I am constantly perusing Pinterest and blogs for light fixtures, cabinets, flooring, paint colors, etc. and it just whets my appetite all the more about my own home. I sometimes hate that about myself, especially when I let my brain settle down and start thinking about a more global perspective on priorities...
 But alas, we have been in our home for almost 7 years now, and it was time. I was up for the challenge of changing things up on a budget, so I rearranged some of my stuff and created a fresh look on the mantel and then tackled a few rooms and projects slowly, making use of thrift stores and large doses of elbow grease.
First up in 2014 was our master bedroom. I painted the walls a warm neutral called "Latte" (Sherwin Williams 6108) back when we built the house, because I knew it would provide flexibility with any future changes. In addition, I always keep white/off white bedding on hand, and just change up the rest. I wanted to bring a serene, neutral palette to the room that invites us in to relax. For about $250, I did the following:
- Stained two antique sewing tables from my favorite thrift store with a quick swipe of Rustoleum stain in "Driftwood." I just painted it on, and lightly wiped it off. I replaced the wooden knob with a cute $6 dangle pull from Anthropologie in aqua. These became my bedside tables. (I did something similar to a cherry chest of drawers.)
- I bought two lamps on sale for about $15 each from Lowe's that were the shape I wanted, but I didn't like the base. The glass had been painted from the inside so I swished a LOT of nail polish remover around and wiped it with a paper towel. This gave me clear glass bases, which I covered with cute fabric lampshades.
- Two throw pillows from Home Goods, one in gray, and one in pale aqua (down filling only, please) and a cotton cable-knit throw from Ikea completed the bed.
- Using a small swatch of leftover fabric from another project, I recovered a small bench, and a yard of a cotton velvet was enough to make two tiny pillows for my little white boudoir chairs.
- My big splurge was to replace my ceiling fan/light. Although I hated to lose the fan capability, I figured if I was really dying at night, I could always add a small fan on the floor...but I really wanted a beautiful light hanging from the ceiling with a dimmer switch. It brought a touch of elegance to the room, and soft overhead lighting.
- Lastly, I added a simple sheer scarf draped over the existing curtain rod to just soften the lines of the window, and let all that natural light in.


Several months later, the next project was an extra bedroom on the second floor. We had painted this room bright green when we moved in and filled it with black and white accents, and although we all loved it 7 years ago, it was time for a relaxing change. Looking for a gray/khaki/white/gold combo with very few subtle pops of color. For about $200 I:
- Painted the walls "Worldly Gray" (Sherwin Williams 7043). I have used this color in several of our new constructions, as it is a warm gray and works with just about everything.
- Spray painted several accent pieces gold: candle holder, few picture frames, metal wall hanging, and some brushed nickel drawer knobs for the existing white dresser.
- Bought a pillow with gold sequins at Home Goods for the bed; again covered in white/off white bedding.
- Covered an old fabric headboard with a furry twin-sized blanket...this was enough to cover a queen sized headboard. Just wrapped it around the existing fabric, and stapled it on the back.
- Made a pillow with some scrap fabric.
- Scrounged around my 'stuff' and found some quiet prints framed in gold frames. As well, I found some black and white drawings and photography framed in black.
- Brought a beautiful bassinet up from storage for my new little granddaughter coming any day now!
BEFORE:


AFTER:


Lesson learned: Often you can update your rooms with a can of paint and a ruffle through your stash of family photos and pictures. I am not a pack rat, but I do understand that trends come and go, and if I just hang on to a few things, they will come back around someday. Who knew that gold/brass would come back to haunt us? I've even seen antique brass door knobs in stores recently! Noooo!!
Our home is designed after the beautiful villas we had seen while living in Italy, and part of our original plan was to install rough hewn beams in our kitchen ceiling. But we never got around to it, until my talented and industrious husband decided to go for it a few weeks ago. It was precarious at times, but we did it together and had lots of fun and near disasters! Materials cost a mere $150, wood and stain.


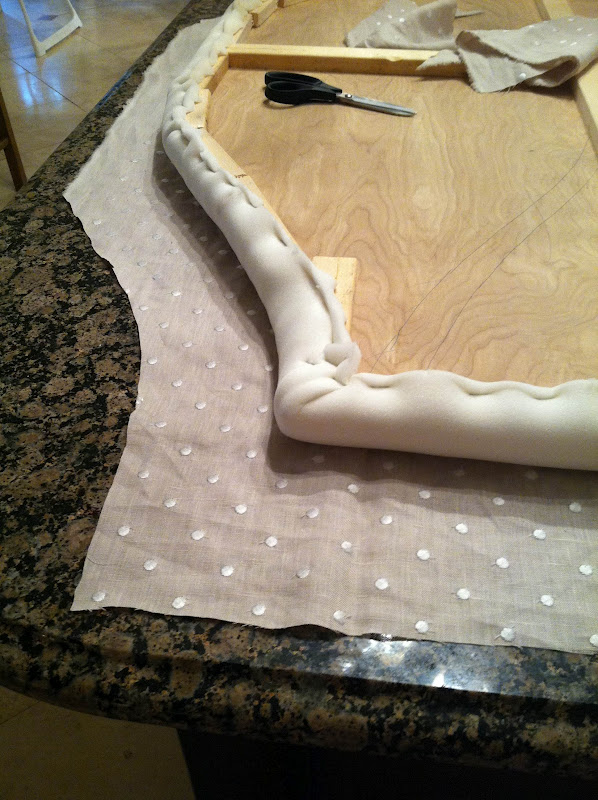
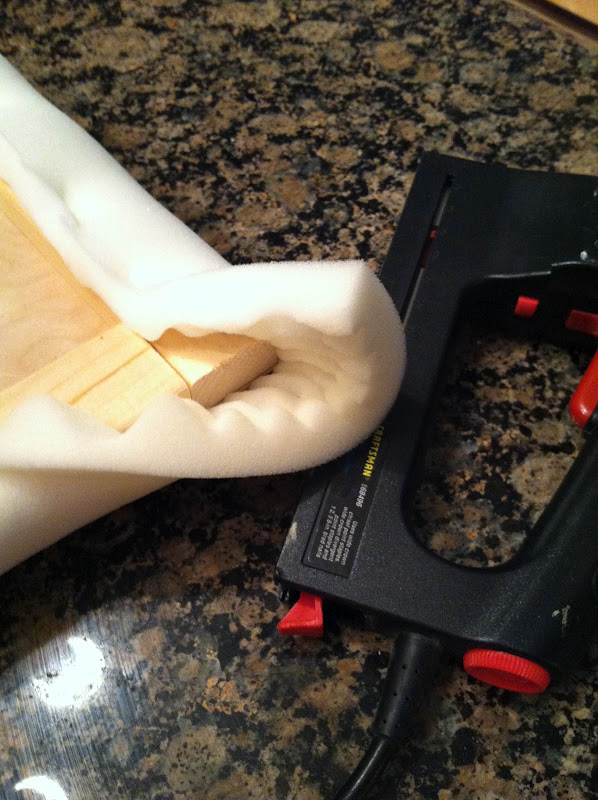
As the baby's due date approached, I found I had this nesting instinct to get my lingering projects done and installed...even though I am the Nana, not the Mama! I had a really cute antique chair that I found at the thrift store for $5 that needed new padding and fabric (extra I had in my stash) and a quick coat of paint.


And I really wanted to update my lighting without getting new fixtures. What to do? What to do?... I decided to try making a lampshade that would fit over the curvy lines of my very traditional breakfast table chandelier. For a first attempt, I am rather pleased with the way it looks. I will do a few things differently next time, but I learned a lot of lessons along the way.
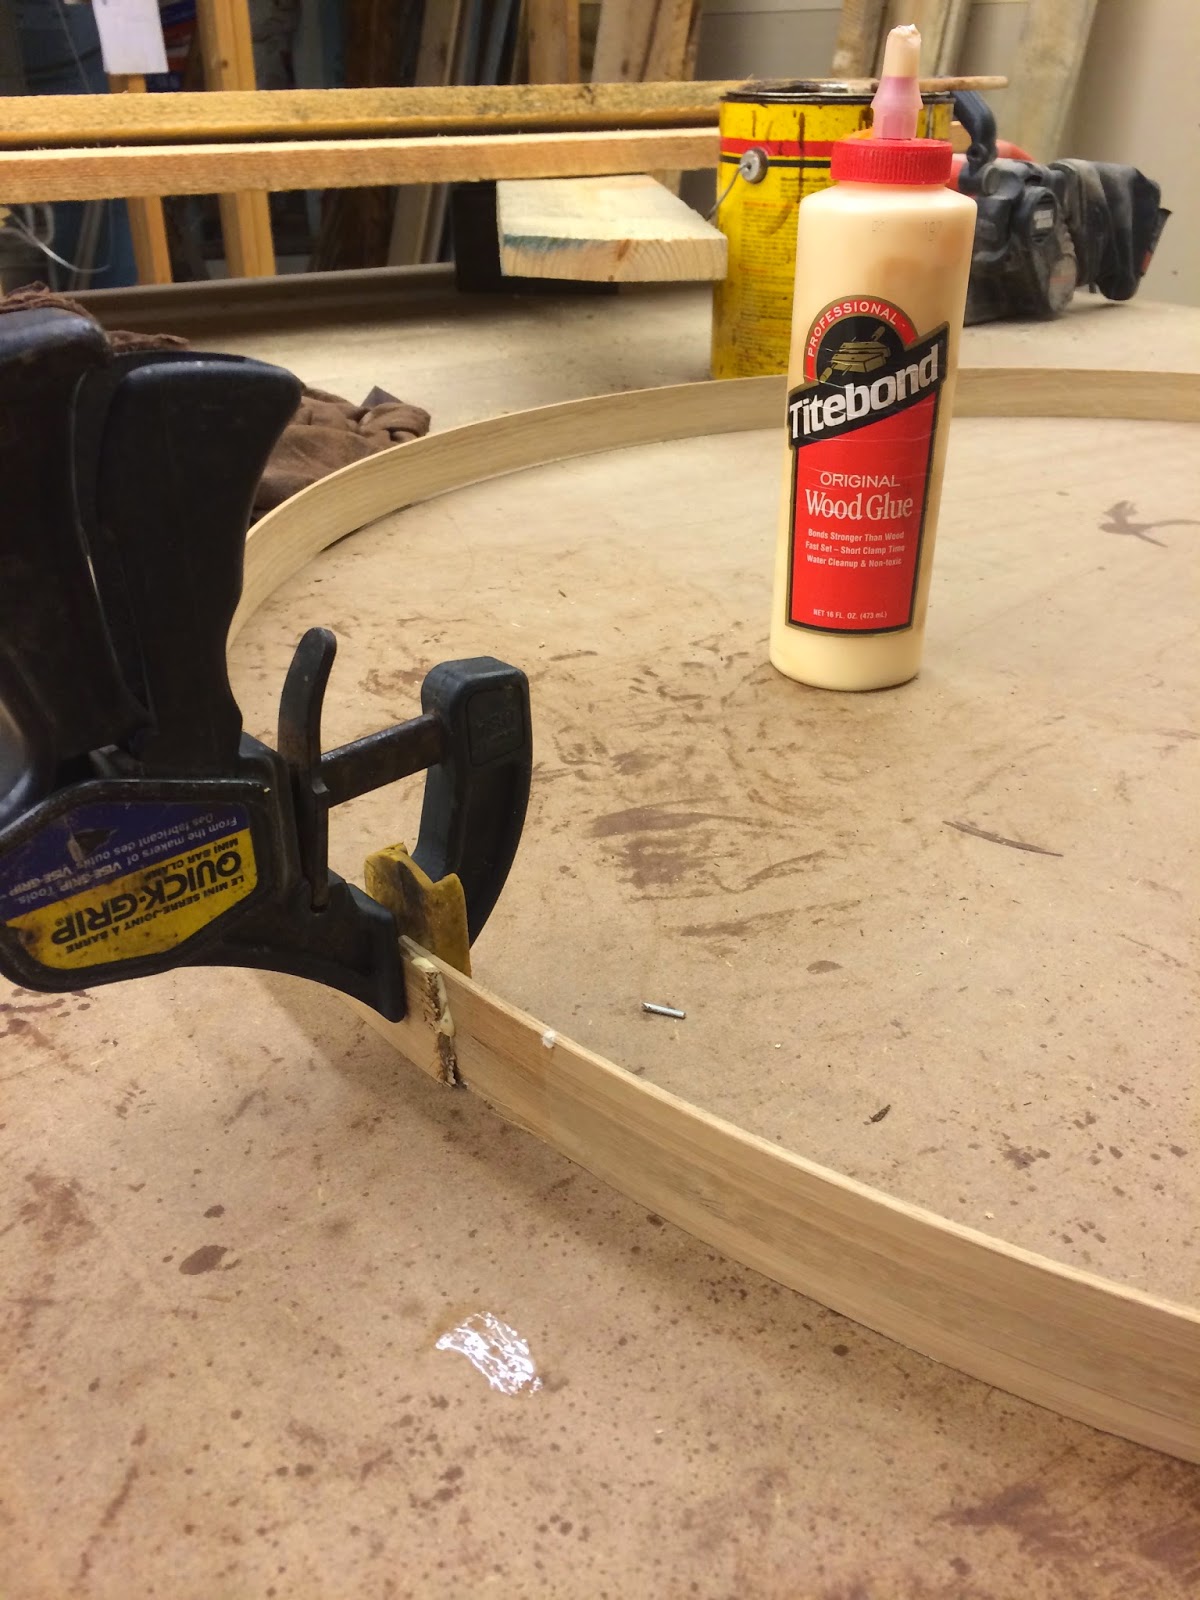
- I ordered an 80' piece of bamboo edging (1"x1/8") that came in a roll from a seller on Ebay for $20 (figure I can make some more lampshades!). Calculating the circumference I would need, I cut the bamboo on a chop saw and glued it into 2 equal circles and let it dry while clamped.
- Using poster board, I cut pieces in the width of what I wanted the shade's height to be. For this 27" diameter fixture, I made the shade 14" tall, and 29" in diameter. I removed the top level of bulbs (the fixture originally had two levels of lites, 6 on the bottom and 3 on the top). The poster board was glued and clamped to the two hoops with clamps.
- Once dried, I hot-glued a length of fabric in the same manner and covered the rough edges on the interior of the shade with binding tape in a similar color.
- Now the tricky part was to determine how to actually hang the shade on the fixture. I decided to create a triangle of bamboo edging glued together that could rest on the three candelabra bases where the bulbs had been removed on the top layer. The triangle then rested on the 1/8" thickness of the bamboo edging on the inside of the shade...not super secure but since (most likely) no one will be swinging from it, it works.



Now, come on Baby Girl! We are ready for you to arrive!


.JPG)